

Ultimate Crispy Lechon Kawali: The Secret to Crackling Skin and Juicy Meat
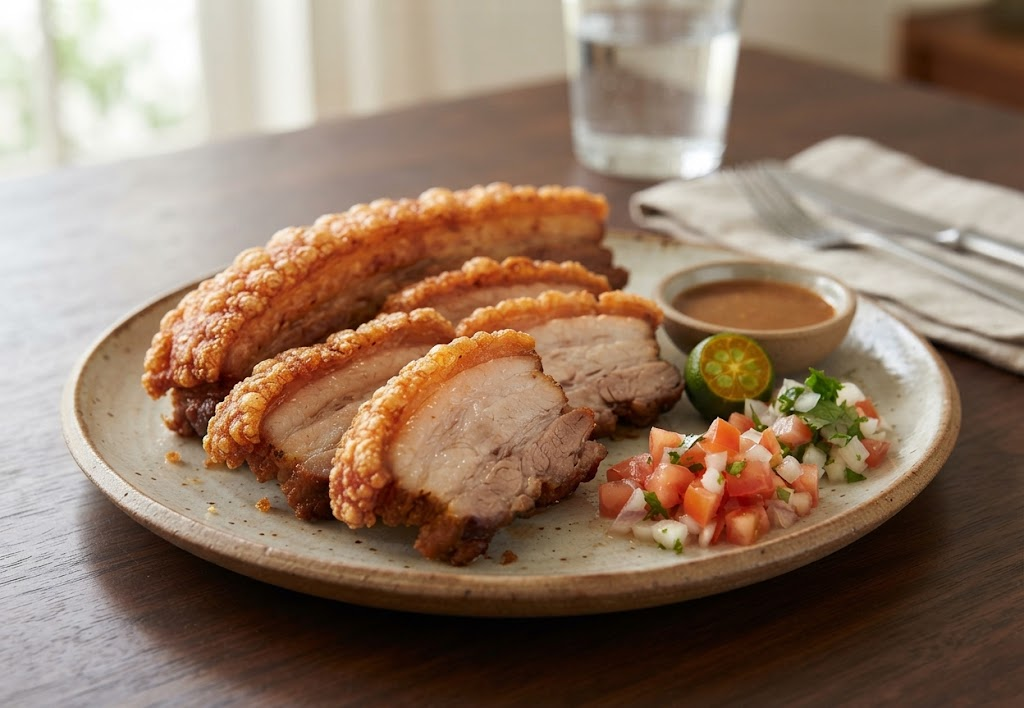
If there is one dish that instantly brings comfort, celebration, and pure joy to the dinner table, it’s Lechon Kawali. With its ultra-crunchy skin and tender, juicy meat on the inside, this Filipino favorite is a masterpiece of textures.
Drawing inspiration from Chef RV Manabat's popular recipe guide, this post breaks down everything you need to know to make restaurant-quality crispy pork belly right at home.
Ingredients
-
2 kgSubstitutes for Pork Belly:Pork Shoulder Ratio: 1:1
-
-
2 headsSubstitutes for Garlic:Garlic Powder Ratio: 1/8 tsp powder = 1 cloveShallots Ratio: 1:1
-
Substitutes for Yellow Onion:White Onion Ratio: 1:1Red Onion Ratio: 1:1Shallots Ratio: 3 shallots = 1 medium onion
-
1 handful
-
4–8 pieces
-
6 tablespoons
-
1 splash Soy GlutenSubstitutes for Soy Sauce:Tamari Ratio: 1:1 (Gluten-Free swap)Coconut Aminos Ratio: 1:1 (Soy-Free swap)
-
Substitutes for Extra Virgin Olive Oil:Avocado Oil Ratio: 1:1
1. Simmer to Tender Perfection
Choose a cut with a balanced ratio of meat to fat to keep the interior tender and moist
2. Step 2
3. Step 3
4. Step 4
5. Step 5
Don't throw away the flavorful pork stock! Strain it and save it in the fridge or freezer for future noodle dishes or soups
6. The Drying Secret (Crucial for Crunch)
• The Air-Dry Method (Recommended): Leave the boiled pork uncovered on a rack at room temperature overnight, or place it under a gentle electric fan.
• The Oven Method: Place the pork in a low-temperature oven (around 250°F to 275°F) for 1 to 2 hours until the skin dries out.
• The Freezer Method: Let the pork cool completely, place it in a zip-lock container or bag, and store it in the freezer until you are ready to fry.
7. Deep Frying
8. Step 8
9. Step 9
Pork straight from the freezer will cause initial oil splatters, so use a long pair of tongs and step back slightly for safety
10. Step 10
11. Step 11
All Steps Completed!
You've successfully finished cooking this recipe.
Directions
Step 1: Simmer to Tender Perfection
Step 1: Simmer to Tender Perfection
Choose a cut with a balanced ratio of meat to fat to keep the interior tender and moist
Step 2
1. In a large pot, combine the water, pork liempo, pounded garlic, quartered onions, rock salt, a splash of soy sauce, whole black peppercorns, and bay leaves.
Step 3
2. Bring the water to a boil, then lower the heat to a simmer. Cover and cook for about 45 minutes.
Step 4
3. Check for doneness: Poke the meat with a fork. It should be fork-tender and soft, but not overcooked (avoid making it too soft, which can dry out the meat later).
Step 5
4. Remove the pork from the broth and let it cool on a wire cooling rack. (Note: Don't throw away the flavorful pork stock! Strain it and save it in the fridge or freezer for future noodle dishes or soups).
Don't throw away the flavorful pork stock! Strain it and save it in the fridge or freezer for future noodle dishes or soups
Step 6: The Drying Secret (Crucial for Crunch)
To achieve that signature crackling skin and prevent oil splatters, the boiled pork needs to dry out excess surface moisture. Choose one of these methods:
• The Air-Dry Method (Recommended): Leave the boiled pork uncovered on a rack at room temperature overnight, or place it under a gentle electric fan.
• The Oven Method: Place the pork in a low-temperature oven (around 250°F to 275°F) for 1 to 2 hours until the skin dries out.
• The Freezer Method: Let the pork cool completely, place it in a zip-lock container or bag, and store it in the freezer until you are ready to fry.
Step 7: Deep Frying
Step 3: Deep Frying
Step 8
1. Heat plenty of cooking oil in a deep pan or wok over high heat.
Step 9
2. Carefully add the dried pork pieces. (Caution: Pork straight from the freezer will cause initial oil splatters, so use a long pair of tongs and step back slightly for safety).
Pork straight from the freezer will cause initial oil splatters, so use a long pair of tongs and step back slightly for safety
Step 10
3. Deep fry for 10 to 18 minutes, turning occasionally until the skin turns a gorgeous golden-brown and achieves an audible, glass-like crunch.
Step 11
4. Remove from the oil and let it rest on a wire rack or paper towels. Tap the skin—if you hear a hollow, crisp echo, you’ve nailed it!
What's Your Reaction?

The team behind reviewing, curating, and preparing community-submitted recipes and food content for publication on Recipinboard. We help ensure every submission is presented clearly, credited properly, and ready to be discovered by fellow food lovers.
Related Recipes
 Filipino Breakfast
⏱ 40 mins
Filipino Breakfast
⏱ 40 mins
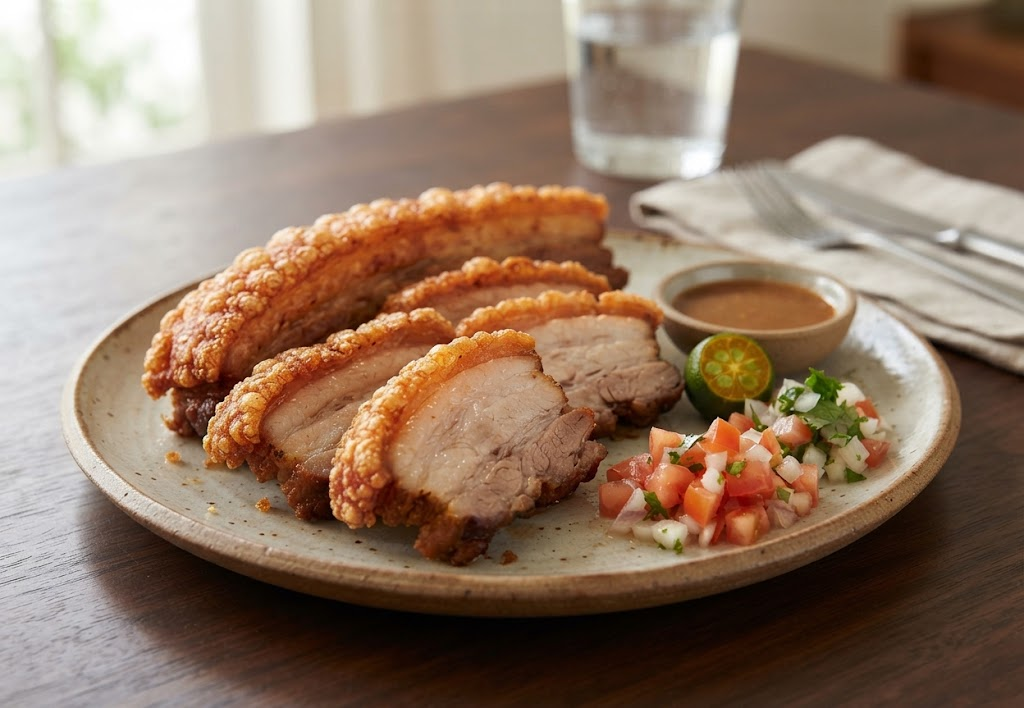
Ultimate Crispy Lechon Kawali: The Secret to Crackling Skin an...
If there is one dish that instantly brings comfort, celebration, and pure joy to t...
 Filipino Breakfast
⏱ 17 mins
Filipino Breakfast
⏱ 17 mins
Chicken Inasal with Garlic Java Rice & Atchara
There are two kinds of grilled chicken in the Philippines. There's the one you eat...
 Cakes & Layer Cakes
⏱ 120 mins
Cakes & Layer Cakes
⏱ 120 mins
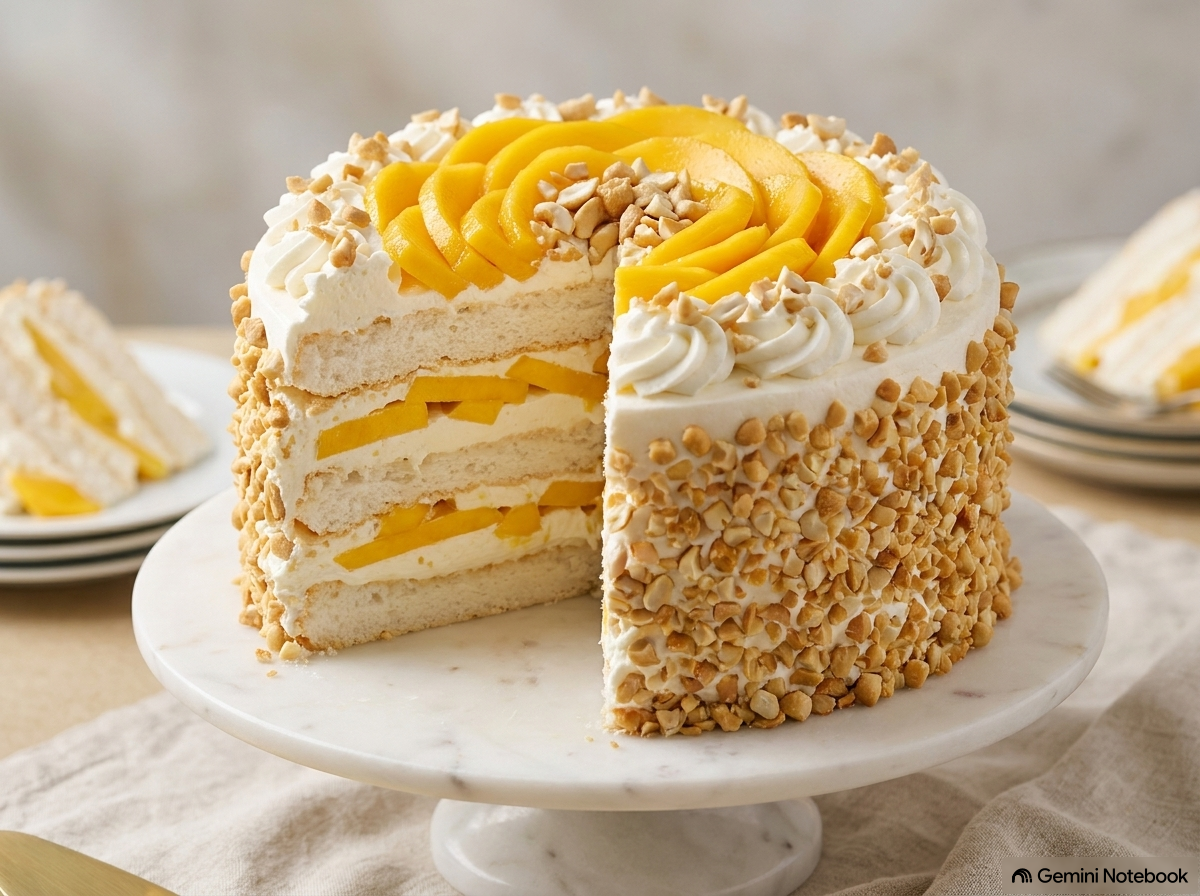
The Ultimate Copycat Conti’s Mango Bravo Cake Recipe
Soft meringue layers, luscious real mangoes, lightly sweetened whipped cream, and ...
 Chicken Lunches
⏱ 35 mins
Chicken Lunches
⏱ 35 mins
Creamy Tuscan Garlic Chicken
A rich and velvety Italian-American classic featuring pan-seared chicken breasts e...
 French Toast & Crepes
⏱ 10 mins
French Toast & Crepes
⏱ 10 mins
French Toast
This French Toast recipe fills your kitchen with incredible aroma. Warm, golden, a...
 American Breakfast
⏱ 10 mins
American Breakfast
⏱ 10 mins
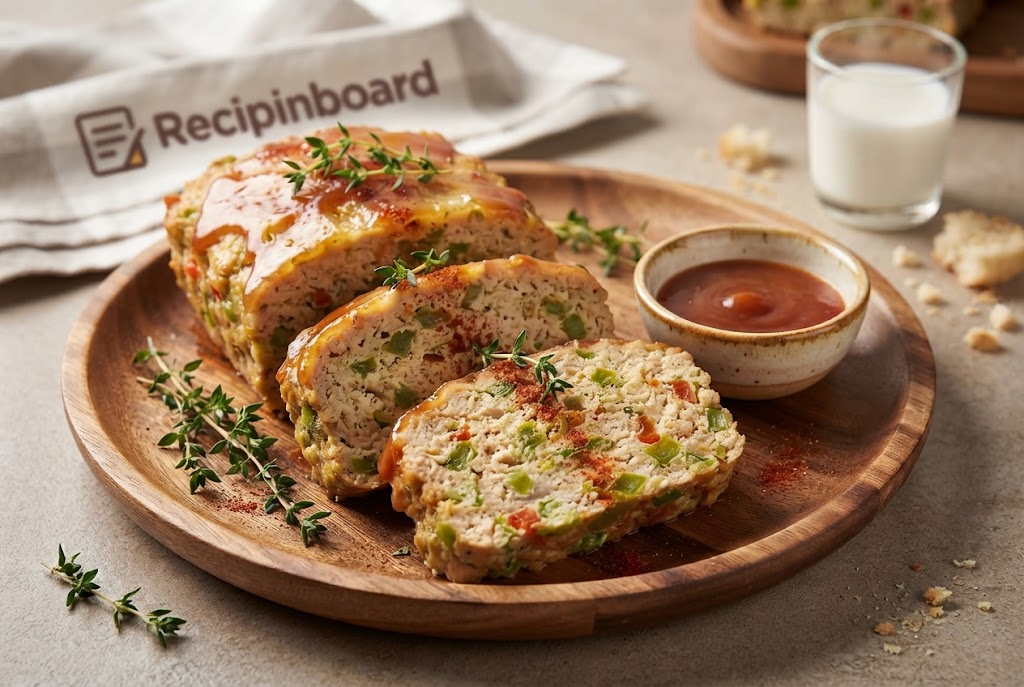
Meatloaf (Ground Chicken)
Adapted from my seafood cake Recipe and changed to a meatloaf. You could also form...







Comments (0)